Recording yourself guide
How to use your iPhone as a webcam on your Mac (and when you want a remote camera app instead)
Your iPhone has a better camera than the one in your Mac. There are two ways to use it with the Mac, and they do different jobs: as a webcam for calls, or as a remote camera you control from the Mac while it records.
This guide shows how to set up each one and how to pick. CamBridge is the remote camera app, and it is not a webcam, so the webcam part uses Apple's built-in feature.
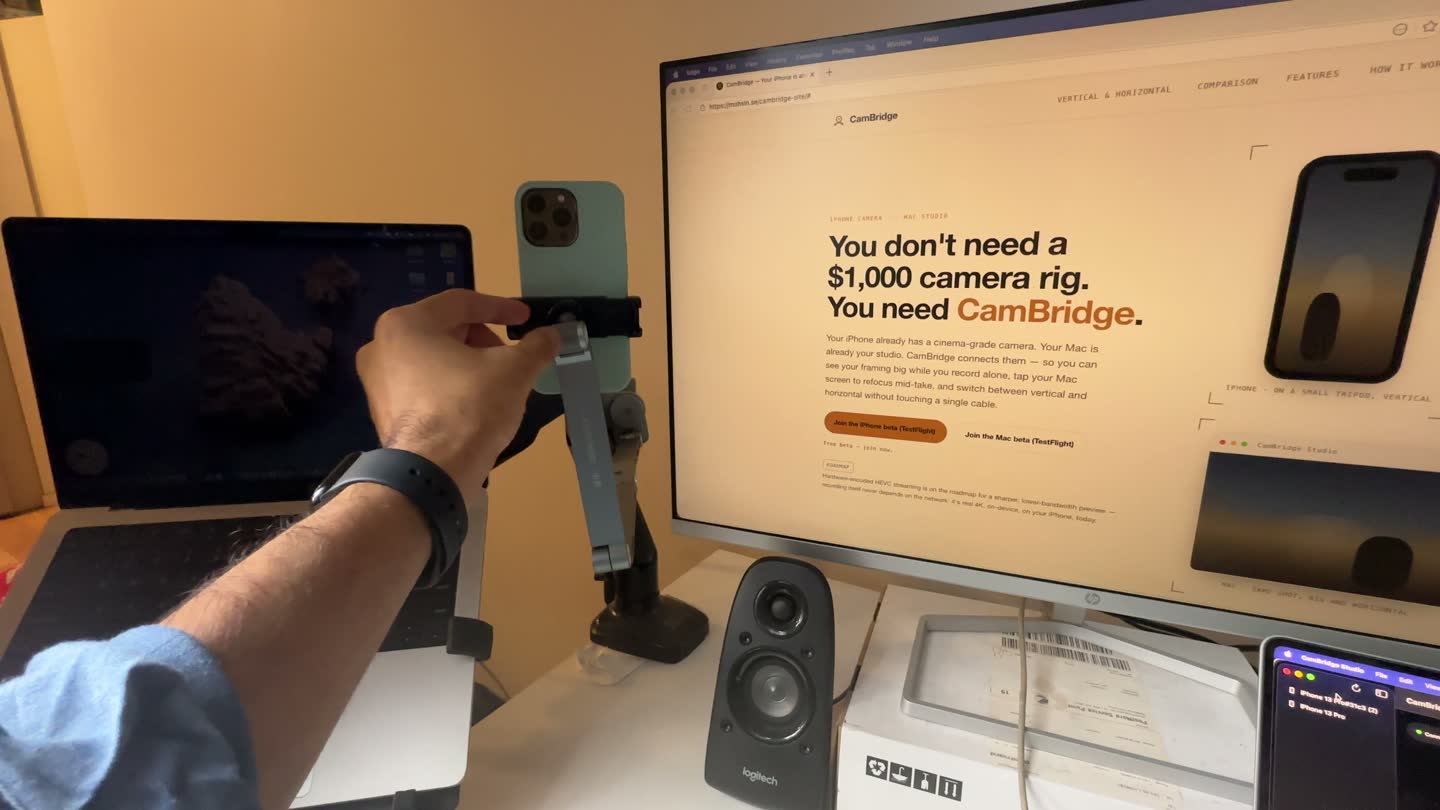
Webcam or remote camera: two different jobs
A webcam sends a live stream into another app. The call app decides the size, crops it to a wide frame and compresses it. That is fine for a meeting.
A remote camera app keeps the iPhone as the camera. The phone records its own full-quality file, and the Mac shows you the shot and gives you the controls. That is what you want when you film a video for YouTube, TikTok, a course or a podcast.
- Calls, live streams, a camera input for a Mac app: use Continuity Camera.
- Recording yourself, vertical or horizontal, and controlling the camera from your desk: use CamBridge.
- Both: they can live on the same Mac. Use one for the call and the other for the shoot.
Use your iPhone as a webcam on your Mac (Continuity Camera)
Apple lists these requirements: iOS 16 or later on an iPhone XR or later, macOS Ventura 13 or later, and both devices signed in to the same Apple Account with two-factor authentication. It works wired or wirelessly (Apple support: Continuity Camera).
- Turn on Wi‑Fi and Bluetooth on both devices.
- Mount the iPhone near the Mac screen, with the rear cameras facing you.
- Open your call or streaming app and pick the iPhone in its camera or video menu.
Continuity Camera gives you Apple's video effects, such as Center Stage and Desk View. It does not give you a full camera control panel, and apps usually treat it as a wide webcam feed. For more on this, see Continuity Camera vs CamBridge.
Use your iPhone as a remote camera from your Mac (CamBridge)
You need CamBridge on the iPhone (iOS 17+) and CamBridge Studio on the Mac (macOS 14+), on the same Wi‑Fi or connected by USB.
Install both apps
Join the free TestFlight beta for CamBridge on the iPhone (iOS 17 or later) and CamBridge Studio on the Mac (macOS 14 or later). There is no account to create.
Mount the iPhone and connect
Put the iPhone on a stand or tripod with the rear camera facing you. Open CamBridge on the iPhone and Studio on the Mac. The phone shows up in Studio over Wi‑Fi, or plug in a USB cable for a steadier link. The link menu has Auto, Cable only and Wi‑Fi only.
Frame the shot on the Mac
Studio shows the live view in a big Mac window. Hold the phone upright for vertical video or sideways for horizontal. The preview keeps the full frame in either orientation.
Control the camera from the Mac
Click in the live view to focus. Set exposure, zoom, and switch between the 0.5×, 1× and 3× lenses (depending on your iPhone). Turn the torch on for fill light.
Pick the microphone
Choose an iPhone mic or a mic plugged into the Mac from the Microphone list. A level meter shows the sound.
Record and get the file
Press Space to start and stop. The iPhone records the real 4K file on the phone, and it copies to your Footage folder on the Mac when you stop.
For every control in detail, see how to control your iPhone camera from your Mac.
What a remote camera app gives you that a webcam does not
- The real file. The iPhone records the video on the phone, and it copies to your Mac when you stop. The live view on the Mac is a lighter monitoring feed, not the saved file.
- Vertical without cropping. Hold the phone upright and the Mac shows the full vertical frame. See the vertical video guide.
- Controls on the Mac. Focus, exposure, zoom, lenses, torch and record, so you do not walk back and forth to the phone.
- Better sound. Use a mic on the Mac or the iPhone. See the video podcast guide.
- More than one phone. Studio can show several iPhones in a grid. See the multi-camera guide.
Tips and troubleshooting
- Use the rear camera. It is the better camera, and the Mac preview replaces the selfie screen.
- Use a USB cable when you change settings a lot or the Wi‑Fi is busy.
- Keep CamBridge open and in front on the iPhone while you film.
- If the iPhone does not show up in Studio, check that both devices are on the same network, or plug in the cable.
Limits to know about
CamBridge is not a webcam or virtual camera, so it will not appear as a camera in call or streaming apps. It is a beta for iPhone and Mac only, with no Android or Windows version. It controls the CamBridge camera app, not other camera apps.
FAQ
Can I use my iPhone as a webcam on my Mac without an app?
Yes. Apple's Continuity Camera is built into macOS and iOS. Apple lists iOS 16 or later on an iPhone XR or later and macOS Ventura 13 or later, with both devices signed in to the same Apple Account. Then pick the iPhone as the camera in your call app.
Does CamBridge show up as a camera in Zoom, FaceTime or OBS?
No. CamBridge is not a webcam or virtual camera. It is a remote camera app for recording. For calls and streams, use Continuity Camera.
What is the difference between a webcam and a remote camera app?
A webcam sends a live video stream into another app, like a call. A remote camera app lets you see and control the phone's camera from the Mac while the phone records its own full-quality file.
Can I control my iPhone camera from my Mac?
Yes, with CamBridge. Click to focus, set exposure, zoom, switch lenses, turn on the torch and start or stop recording from CamBridge Studio on the Mac.
Does it work over USB, or only Wi‑Fi?
Both. CamBridge connects over local Wi‑Fi or a USB cable. Nothing goes through a cloud server and there is no account.
Is CamBridge free?
Both apps are free during the TestFlight beta.
Try it with your own iPhone and Mac
CamBridge is a free TestFlight beta. iPhone needs iOS 17 or later. Mac needs macOS 14 or later. No account, no cloud.